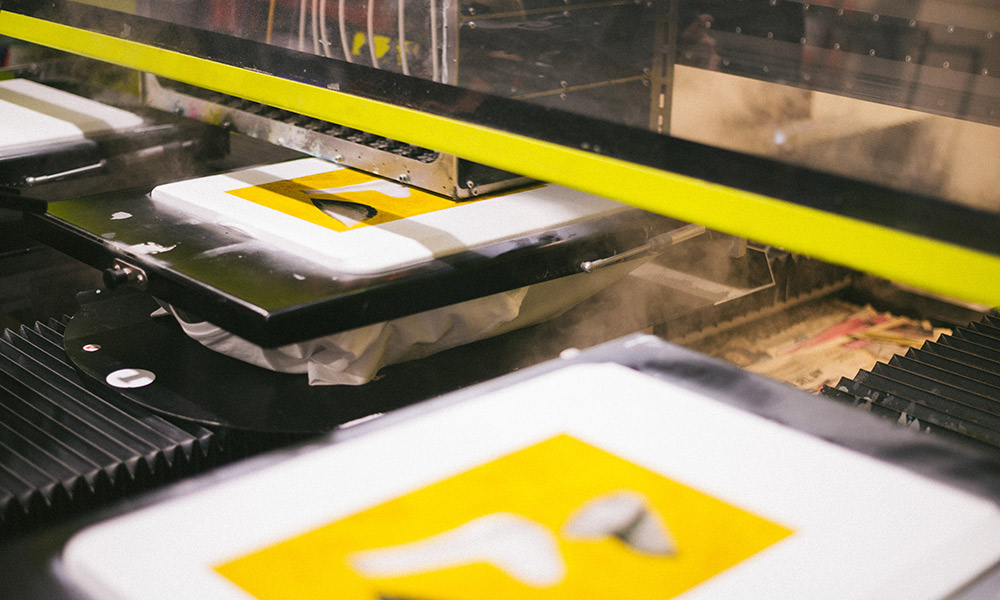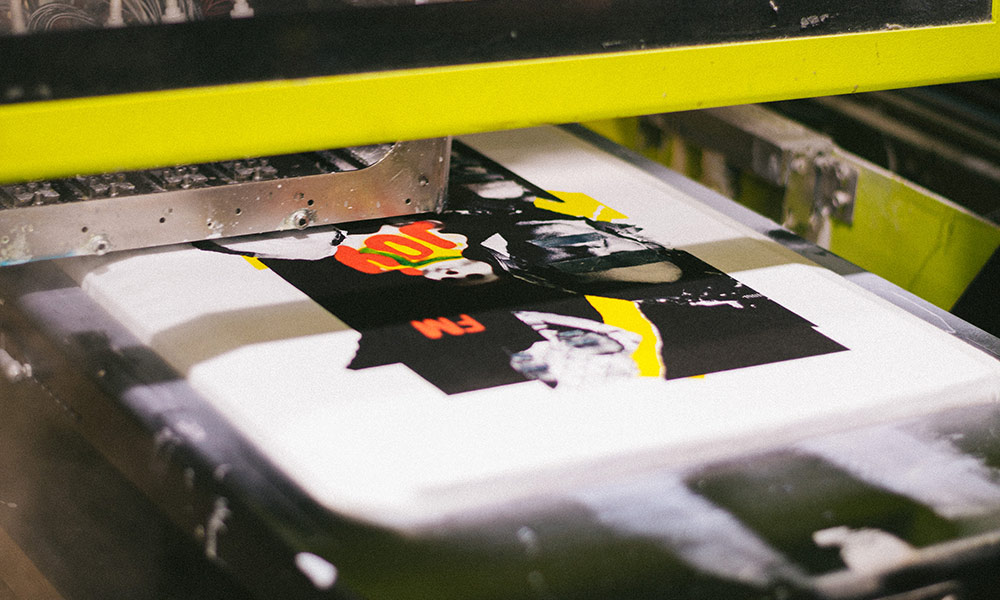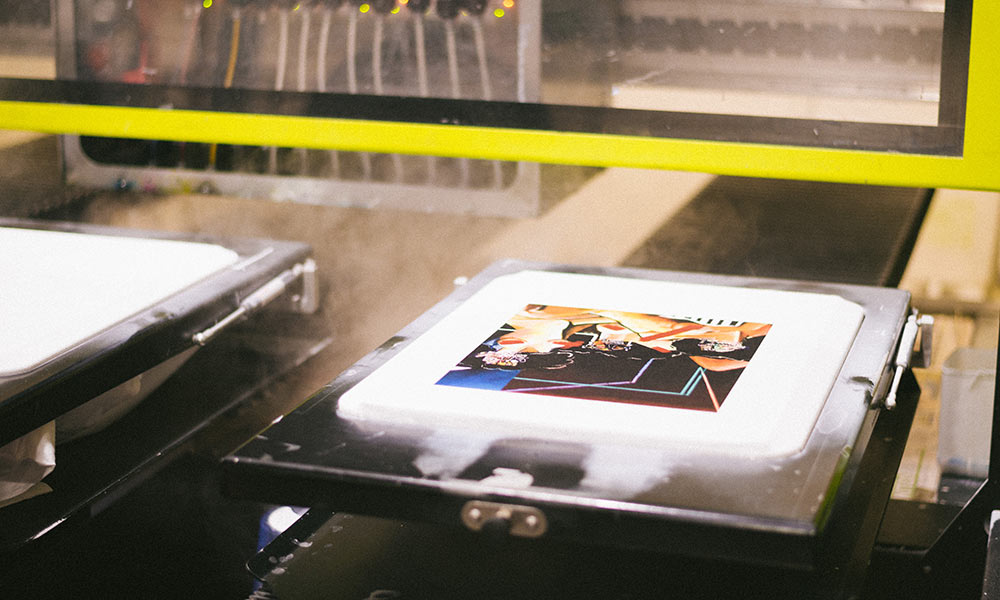
Direct to Garment (or DTG) is a method of printing that hasn’t been around that long, but it has completely revolutionised how T-shirts can be printed. The way it works is pretty straight forward: a design is printed in much the same way a computer printer prints onto paper, though the ink is injected into the fibres of the fabric instead of creating a printed layer on top.
This means that DTG printed T-shirts are especially soft to touch. It’s also a great way to print T-shirts with loads of colour or intricate details – it’s a technique we use often when your design is too complex for screen printing.
Background
DTG printing didn’t emerge until the mid 2000s, but with inkjet printing technologies having been in development from the 1950s onwards, in some ways DTG has been a long time coming. Following the arrival of the inkjet printer in the late 1980s, developers spent the next decade trying to adapt the technology used to print onto paper for the garment industry. DTG printers were first unveiled in 2004, but it wasn’t until the following year that white ink was invented; before this DTG could only be used on light-coloured garments.
From then, the technology has diversified and changed, making it a much more commonplace method of printing.

How It Works
Before printing, there are a few initial steps that are key to making the final T-shirt print look as best as it can. Firstly, T-shirts need to be treated with a pre-treatment liquid, which ensures the ink will stick to the fibres and stay in place. It’s important to make sure the garment is fully dry after this, either by letting it air dry or by using a heatpress to speed up this process.
From here your design will be sent to the printer. The T-shirt is loaded into the printer and secured firmly into place without creases to avoid any misprinting. If your design is being printed onto dark garments, a base layer of white ink will be applied first – this is to ensure that the colours and detail are clear on the background.
It’s now time to print. This stage is much the same as a standard printer for paper. Once it’s done, your printed T-shirt will be expertly checked to make sure it’s up to scratch.
In the final step of the process the design is heat cured, to ensure the ink is secure and stays in place within the fibres of the garment. The T-shirt will be put into a heatpress for a little over a minute (though some newer DTG inks require less time), reaching a temperature that will bind the ink to the pre-treatment that was first applied to your T-shirt.
Your DTG printed T-shirt is now ready to wear!

Points to Consider
DTG is a pretty straightforward and hassle-free method for printing T-shirts. It’s ideal if your design involves multiple colours or complex patterns – there’s really no detail too fine. Unlike screen printing, there are no setup fees for screens, and no additional costs depending on the number of colours you’re printing. Generally this makes it a much cheaper option for short runs or one off designs; bulk orders is where DTG gets more expensive.
Pros and cons of DTG printing at a glance
+ Able to print detail-heavy designs or photos onto fabric
+ Unlimited colours
+ Cheap for small and one off runs
– Colours not as vibrant or accurate as screen printing
– Generally DTG is not as cheap as screen printing when printing larger quantities
Best for: photography, complex designs


