


Thinking of setting up your first pre-order campaign with Everpress to sell graphic T-shirts online? Here’s everything you need to know to give yourself the best chance of getting quality products in the hands of your fans.
STEP 1: CHOOSING THE RIGHT DESIGN
When it comes to designing, it can be hard to know where to begin. Need some inspiration? Check out our Editor’s Picks shop tab – it’s a great place to scan through what’s booting off. We’ve also put together a list of some design resources that might help – from fashion books, to ad archives, to typography libraries.
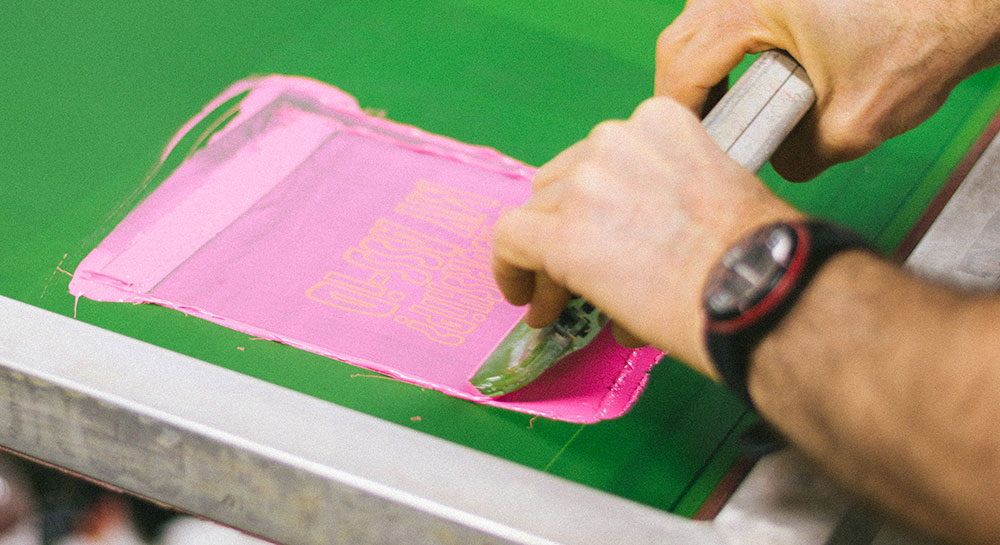
From a practical side – think about cost before you start designing. Using fewer colours and fewer image placements will reduce your setup costs, making production cheaper and your profit margins bigger. It’s good to be aware of what printing method will work for your designs at this stage too. Bold, graphic designs which use 1-3 colours are great for screen printing while photographs or anything intricate with lots of colours will need to be DTG printed.
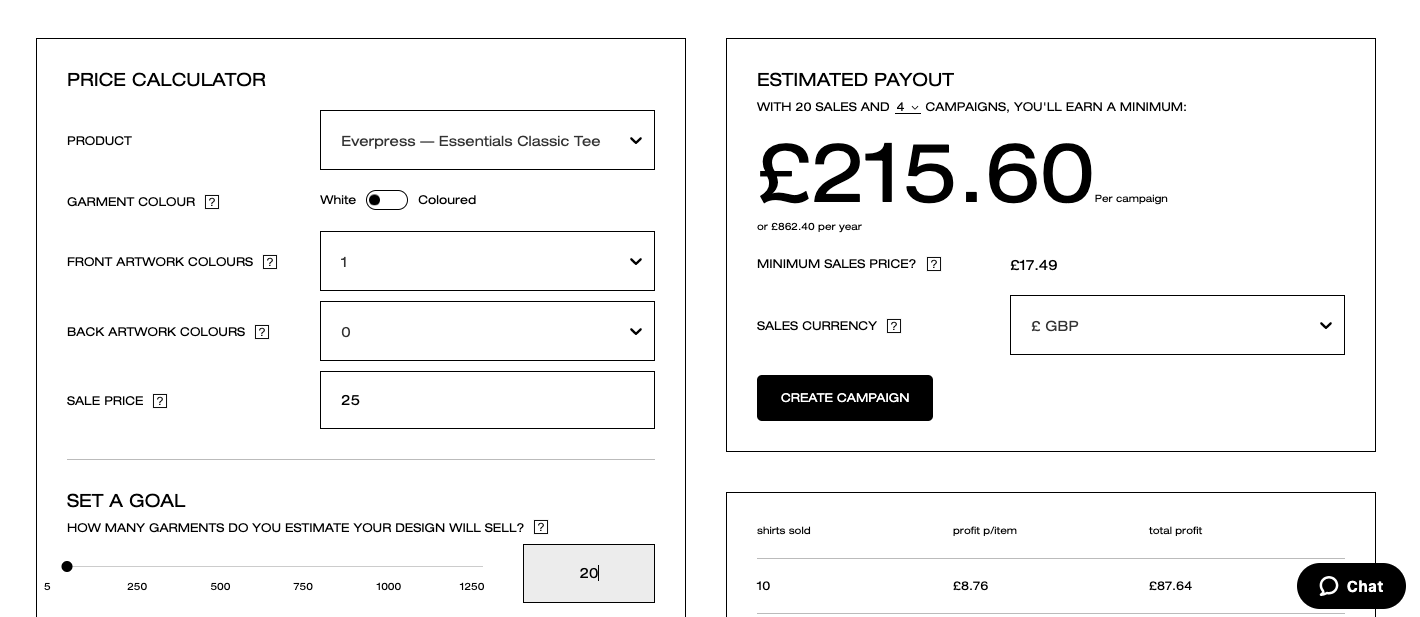
Our price calculator is a really handy tool here, it helps you estimate how to set your prices and how much profit you could stand to make, depending on your choice of garment and design, and what threshold you need to hit for different printing techniques. (For example, a one colour, one front-placement design using the Everpress Essentials Classic T-shirt has a screen printing threshold of 20+ sales.)
STEP 2: PREPARING YOUR ARTWORK FOR PRINT
So you have artwork ready to go? It’s important to know the right file formats for our campaign builder and production team for printing. We run through this fully in detail in our artwork guidelines, but the basics are:
- For our campaign builder we use PNG files less than 10mb in size. This is so we can create the digital mock-up that’s used on your campaign page.
- For production we need high resolution (300dpi) versions of your artwork (ideally as a vector PDF or EPS file). You’ll be prompted to send this over by email if your campaign is successful.
- For both – use an image with a transparent background!
STEP 3: CHOOSING YOUR PRODUCT
We have a range of products in a range of prices, qualities and fits available.
Just know the product you go for will affect your price point and your overall profits – the more expensive it is, the smaller your profits will be. Think of this choice as achieving a balance between the quality you’re aiming for, and the best price for your product. As before, the price calculator will help you suss out what your different margins will be on different products.
Lastly, our product range is flexible and ever-expanding, so if there’s something you think we’re missing let us know and we could try to make it happen.
STEP 4: SETTING YOUR CAMPAIGN PRICE (AND ESTIMATED PROFIT MARGIN)
When choosing your price point the biggest thing to bear in mind is the line between affordability and profit margin: do you want to try and sell more garments at a lower price point, or less at a higher price point?
Check out our shop to get an idea of what similar pieces are selling for. As a rough guide, most of the T-shirts on our site go for between £15-30 and hoodies tend to cost £25-40.
Our price calculator comes in handy here too, as it lets you play around with potential profits depending on your choice of garment and artwork. (Side note, if you need any help using the calculator, we talk you through it in step three of our guide to building your campaign.)
Finally, remember that the more pieces you sell, the more cost-effective your garment is to produce, and the greater your profit margin will be.
STEP 5: SETTING YOUR CAMPAIGN LENGTH
Choosing the optimum time for your campaign to run isn’t an exact science, but taking into account the following should makes it easier:
In our experience, shorter campaigns (of around 2 weeks max) are best for creating a sense of urgency. You can keep marketing sharp and punchy, which ultimately leaves you with more time to focus on the other things you love doing. Longer campaigns let you take your time with promoting, and give you more flexibility with their ending date.
It’s not just how long your campaign lasts that matters, when it ends is important too. Setting your campaign to end just after payday (usually the last working business day of the month), can create a really effective combination of urgency and a full bank account.
And remember, when your campaign ends, it’s not ended forever. If you didn’t manage to make the most of any last-minute hype around your campaign, you can use the ‘open sales’ option to make it instantly re-launch once it has ended. Plus, we have a ‘re-launch request’ feature which notifies you should anyone register interest in buying your product when a campaign isn’t live.
STEP 6: BUILDING YOUR CAMPAIGN
It’s now time to get your campaign ready to go live on our site. Our campaign builder is the easiest way to do this, and we’ve put together a guide to talk you through the finer points of each step, from uploading your artwork, to adding garments, to choosing the URL for your page.
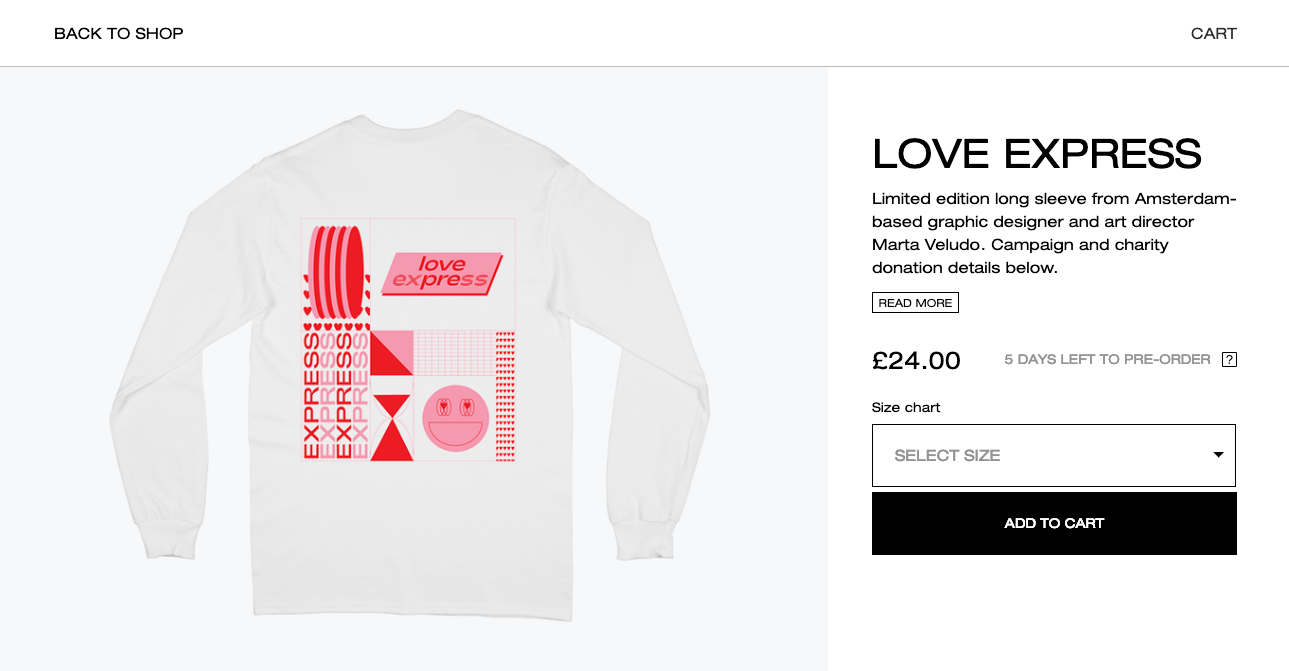
Be sure to flesh out your campaign page with as much detail as possible. Think links to socials like Instagram or YouTube and a clear description of who you are and what your design and campaign is about.
STEP 7: GETTING THE WORD OUT
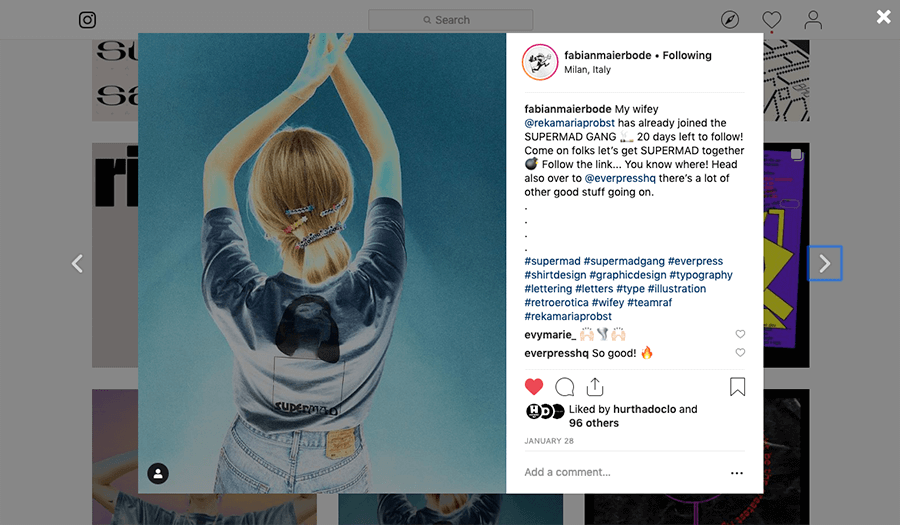
Getting your campaign up and running is just the beginning. Once it’s live, it’s super important to promote it within (and beyond) your network. So use all your channels – Instagram, TikTok, your own mailing list, your own website and more. Some tips for how to keep the conversation going below…
Week 0 – Teaser time
Share some pics that might suggest a campaign or the design, keep the mystery and start building the hype
Week 1 – Launch!
Time to shout about it, talk about why you have a tee out, what the design is about, why you do it by pre-order, what the garment is like etc. Post an Instagram feed post and make it a paid ad if you can.
Week 2 – Artwork feature
Talk about how the design came about, the idea behind it, why it’s important to you, what your process was.
Week 3 – 1 week countdown
Use a close up of the tee and a last chance message.If you reached the screen print threshold, it’s something to shout about! Say a first thank you to people who’ve already ordered and what their purchase means (is it helping you to raise money for something in particular, or means a lot that people like it for all the reasons you do). If you’ve run this tee before, there might be photos of people who already have one – that’s a cool thing to share, spotted in the wild/ this could be you kinda thing!
Week 4 – 24 hours left
Now’s the time to push that incentive and get people engaged! Keep in mind that campaigns usually end at midnight, so the last day to order is the day before the deadline.
Week 5+ – Thank your audience & share their thoughts
The tees will now have shipped, if you want to engage with your community it’s nice to keep everyone posted and even share pics of people with their own tees!