


Before uploading a file to our campaign builder it needs to be converted to PNG format with a transparent background, this allows us to accurately understand how many colours your artwork is using, and helps us provide an accurate profit margin and print. While there are a bunch of easy online tools popping up to help you make PNG files transparent, we understand that a lot of our creators work with Photoshop.
So, here’s 4 easy steps for exporting PNG files with a transparent background from Photoshop:
Tip: Head here for more information on preparing artwork for our campaign builder vs artwork for print.
Step 1
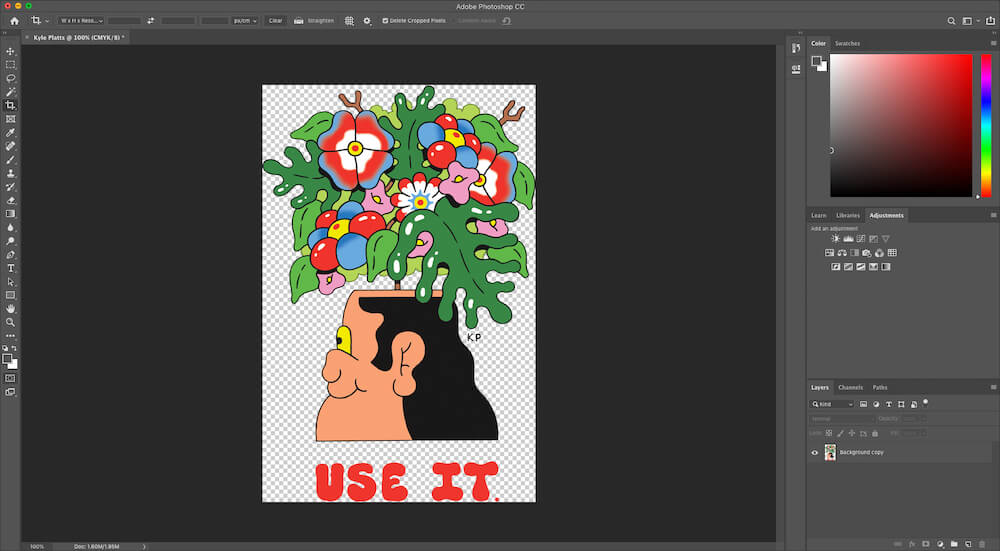
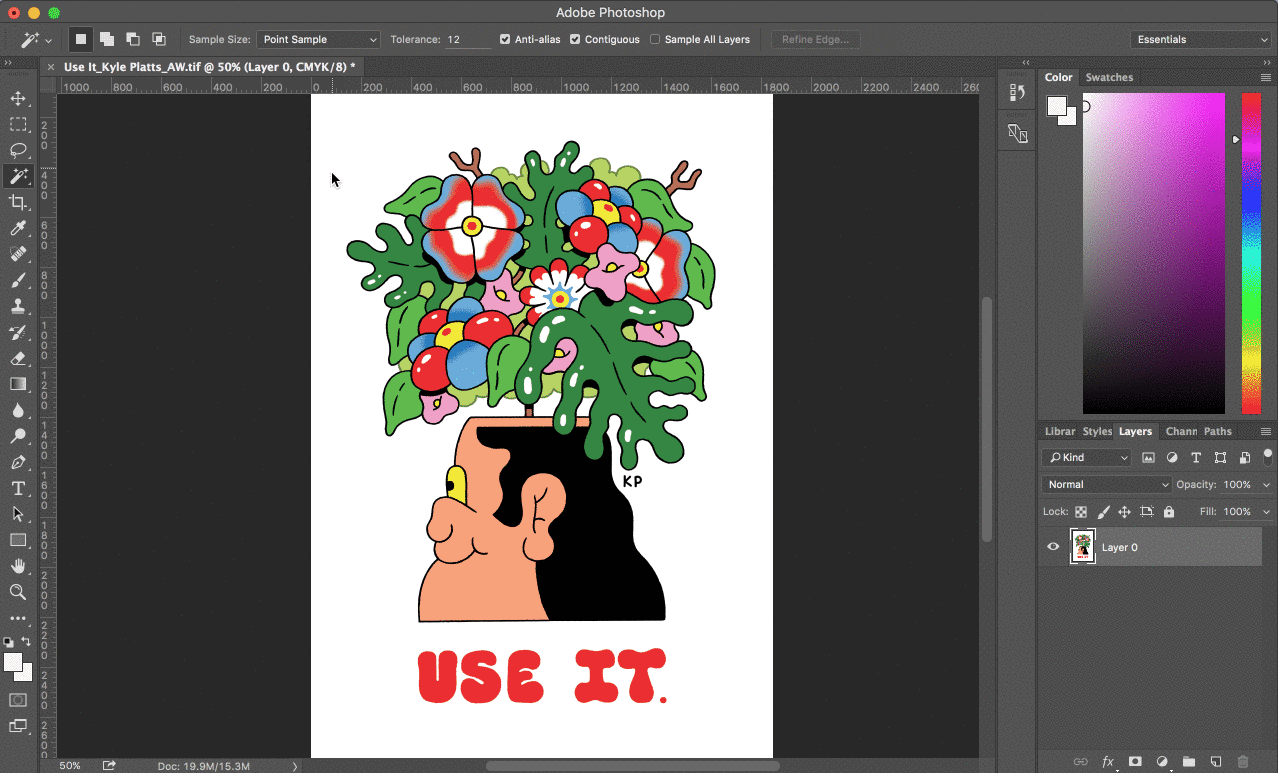
Choose the Magic Wand tool from the tools panel on the left hand side. You can’t miss it, it looks like a wand with a star burst on the end.
To select further background areas to remove, hold ‘Shift’ and continue clicking different areas using the Magic Wand tool. Once all the correct areas are selected, simply hit ‘Delete’ and the background is now transparent. Make sure all the background is removed.
If there’s loads of white background areas to remove, don’t worry, there are easier methods. First, you can select just one area of the required colour, then click the tab at the top “Select” > “Similar”. This should highlight all the areas of a similar colour on your design. Click “Delete” or backspace to remove them all in one go.
Similarly you can also go to “Select” > “Colour Range” and click on the desired colour, this should then highlight all areas using the same colour as what you’ve selected. From here simply hit delete.
Of course, through this entire process you want to be sure not to delete required colours from your artwork.
Note: If the magic wand selects more than you want, lower the Tolerance setting in the top menu. If the wand didn’t select enough, increase the Tolerance value and click the background again. This might require a bit of trial and error until you get it right.
Step 2
The next step is to check the file size and resolution. Click ‘Image > Image Size’. The resolution should be at least 300dpi and the file size should be at least 100% of your intended print area. Keep in mind that changing the resolution of a file to 300dpi will significantly increase the file size, as much more detail is now packed in.
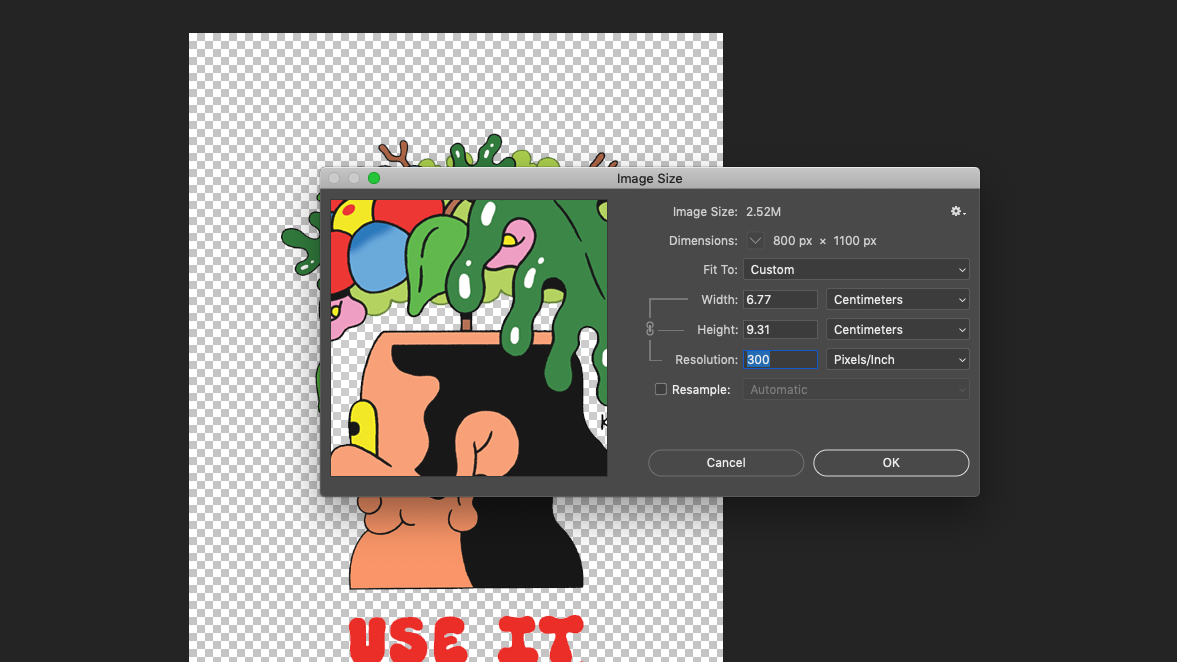
Note: The campaign builder has a maximum upload-able file size of approximately 10mb. This is because massive files can take forever to load, and that’s not fun for anybody. So, if you’re struggling to upload your 300dpi artwork, simply upload a lower resolution file (72dpi) and email us with your full-resolution artwork attached.
Step 3
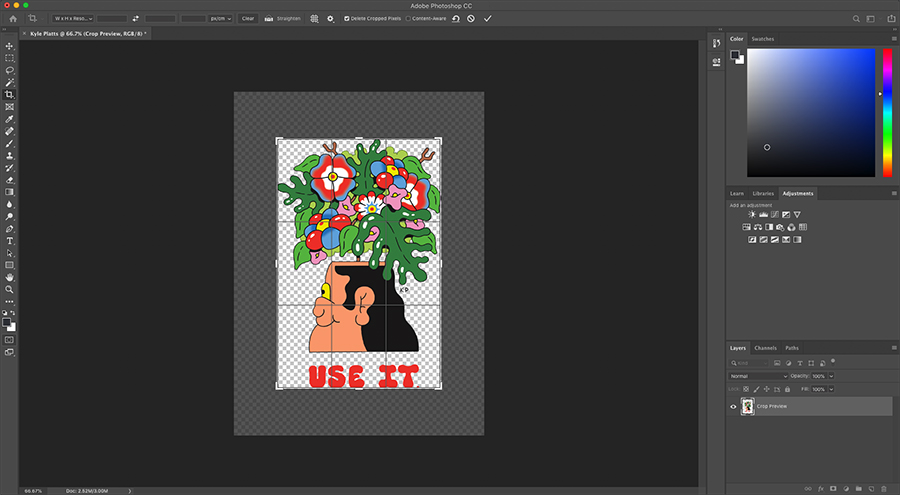
Next, crop the image using the crop tool on the left hand navigation. It’s important have your artwork cropped correctly leaving no ‘dead space’ between the edge of your artwork and the edge of the file canvas. This is especially important for accurately placing artwork.
Step 4
Finally, export the image as a PNG file by selecting ‘File > Quick Export as PNG’.
Now you’re done and the file can be uploaded to step 1 of our campaign builder. Continue following the steps to set up your campaign ready to collect pre-orders.
Read more: Preparing artwork for accurate printing.